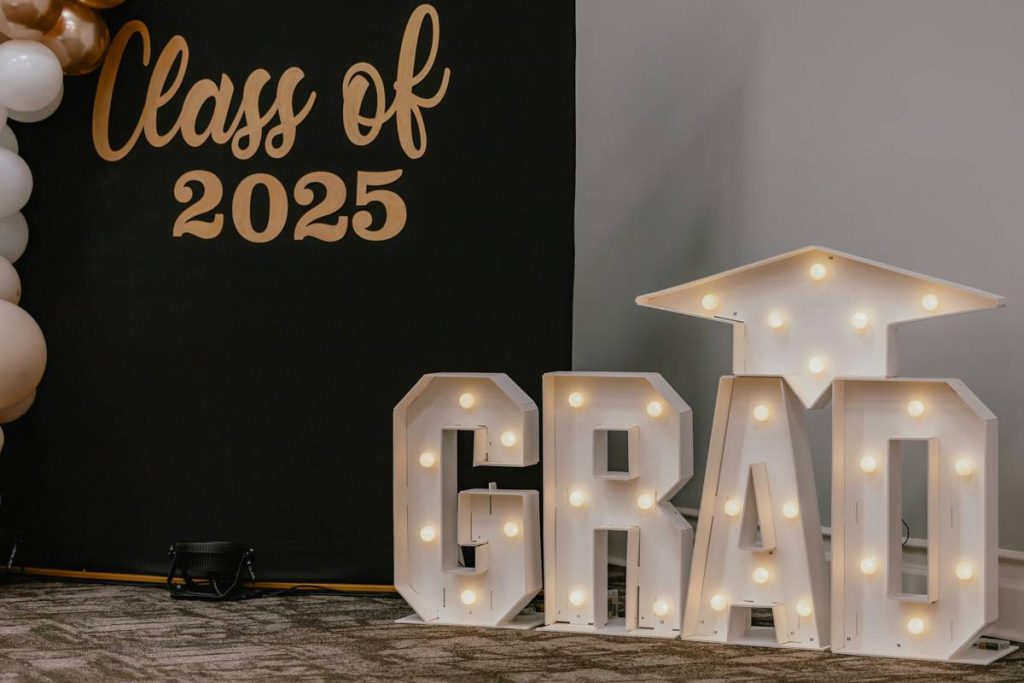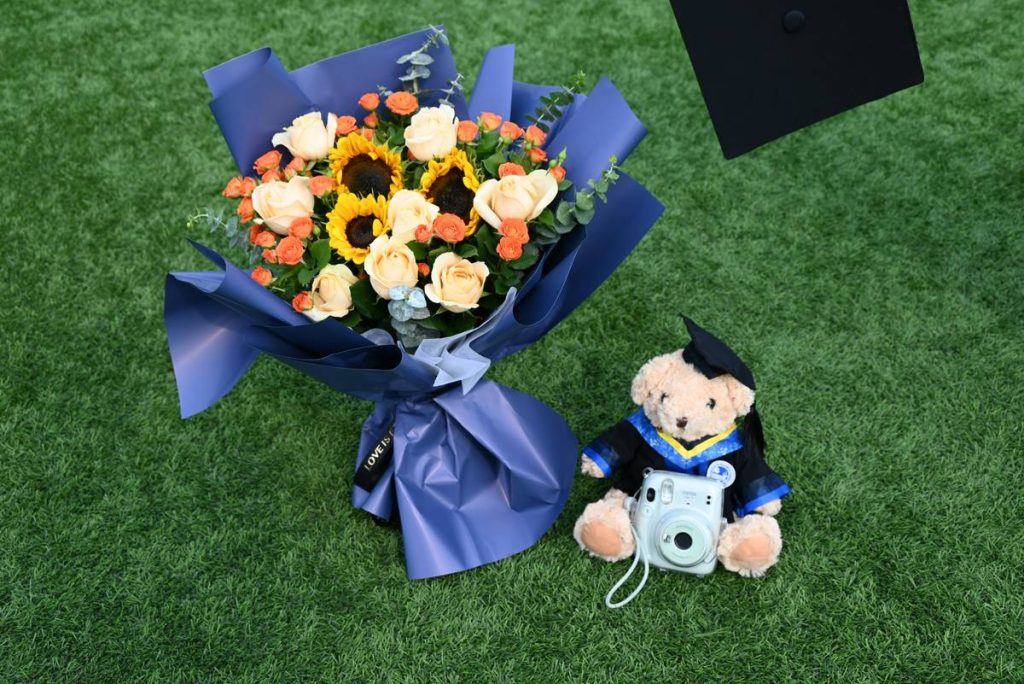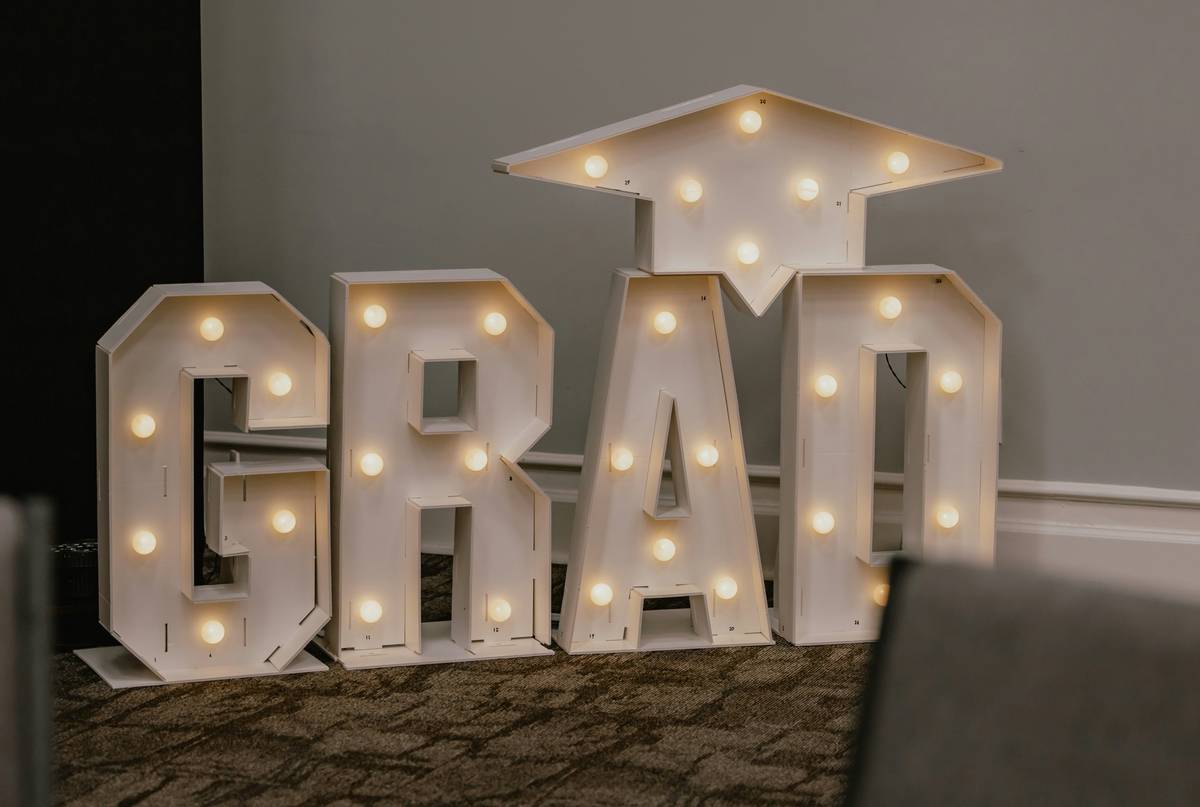
Graduation season hits—and suddenly your home needs to transform into a photo-ready celebration zone. But store-bought kits cost a fortune, look mass-produced, and vanish from shelves by mid-May. You’re left scrambling with limp balloons and generic banners. Here’s the fix: easy diy graduation decorations that take under two hours, cost less than $20, and scream “planned by a pro.”
Why Most Graduation Decorations Fall Flat
Walk into any party store in May, and you’ll see the same red-and-gold plastic caps glued to flimsy cardboard. They’re designed for speed—not style. And online tutorials? Half demand hot glue guns, foam board, or custom-cut stencils most households don’t own.
Worse—they ignore lighting, scale, and personalization. A banner might say “Congrats, Alex!” but if it’s drowning in visual clutter or hung too high, it disappears. Decoration isn’t just what you hang—it’s how it lives in your space.
And yet… families keep buying them. Why? Because nobody’s shown them how to do better with what’s already in their junk drawer.
Easy DIY Graduation Decorations: A 4-Step System (No Craft Skills Needed)
Forget complicated projects. This isn’t about scrapbooking or precision cutting. It’s about strategic simplicity—using everyday materials in unexpected ways. Here’s how:
Step 1: Anchor With a Photo Backdrop
Tape a clean white sheet or light-colored blanket to your wall. Hang 3–5 printed photos of the graduate (school portraits, candid shots) with mini clothespins on twine strung horizontally. Add one oversized paper tassel (made from a folded paper plate) dangling from the center. Instant focal point.
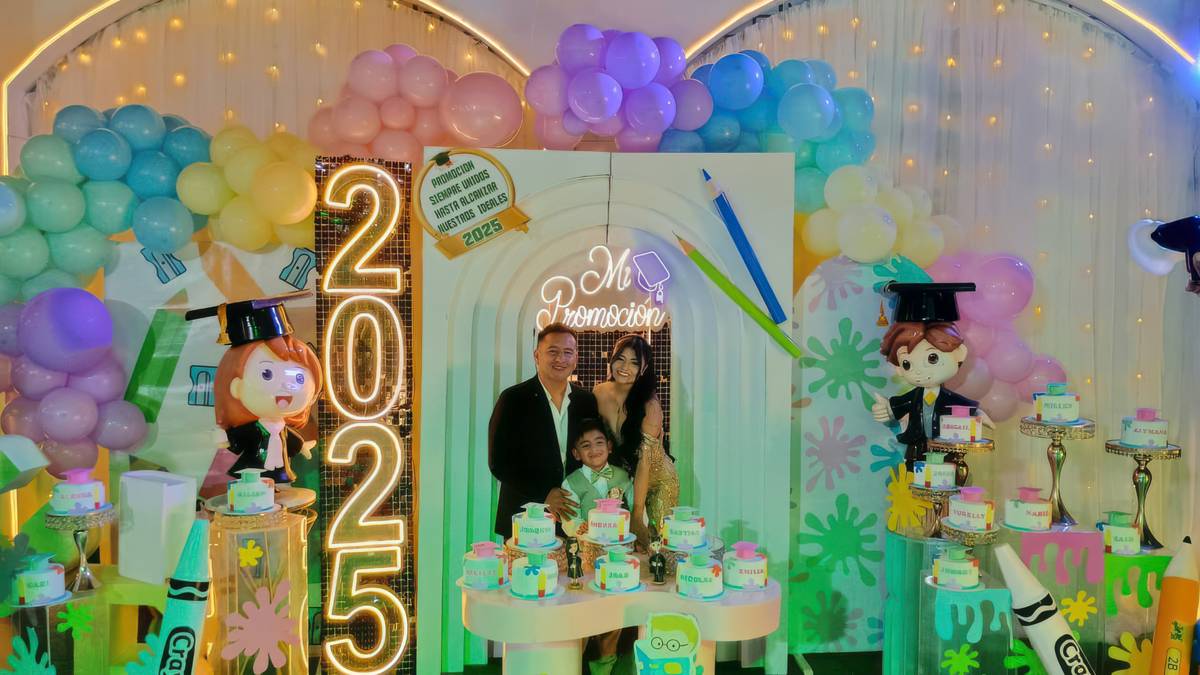
Step 2: Elevate the Cap (Literally)
Don’t just toss the mortarboard on a shelf. Place it on a stack of hardcover books wrapped in kraft paper. Top it with a single succulent or a tea light in a clear votive. Suddenly, it’s a curated display—not clutter.
Step 3: Repurpose What You Own
Got string lights? Drape them in soft waves behind the backdrop. Have a plain throw pillow? Iron on a letter (“G” for graduate) using freezer paper stencils and fabric paint. No new purchases required.
Step 4: Add Movement & Texture
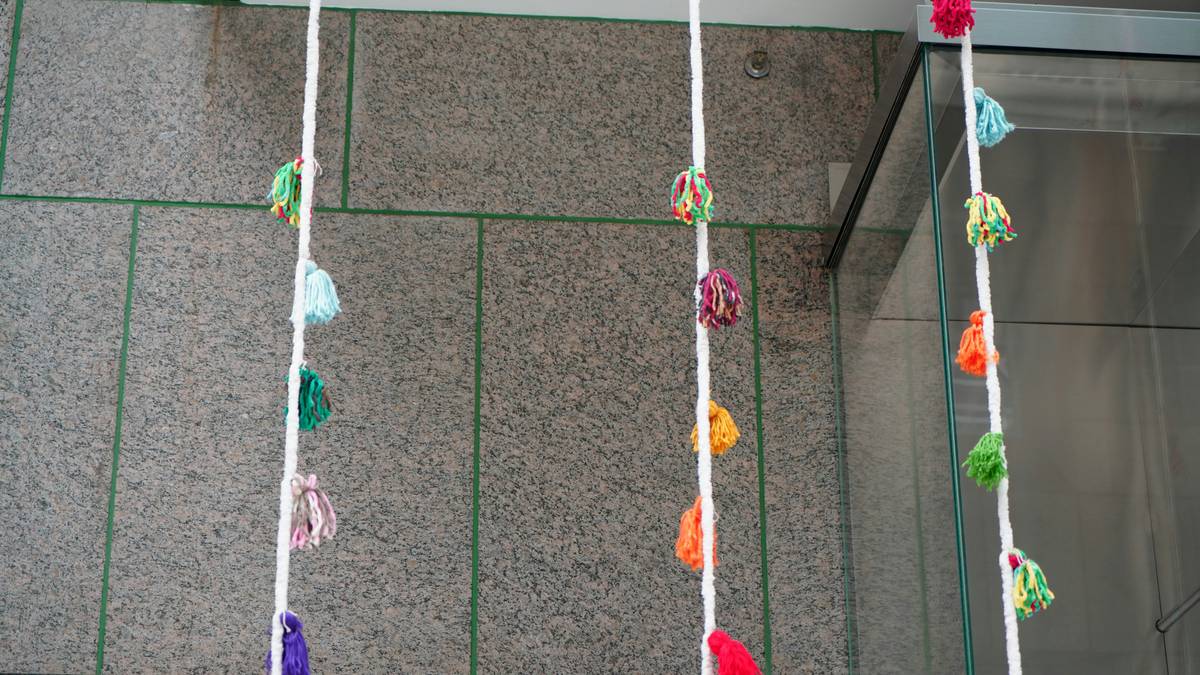
Paper fans, tissue pom-poms, and curled ribbon streamers catch light and shift with air currents—making static spaces feel alive. Make your own: layer 8 sheets of tissue paper, accordion-fold, tie the center, then fan out each side.
| Decoration Element | Store-Bought Cost | Diy Cost | Time Required | Personalization Level |
|---|---|---|---|---|
| Banner | $15–$25 | $2 (printer ink + cardstock) | 10 mins | High (custom names, colors, fonts) |
| Photo Display | $20+ (pre-made frame strips) | $0 (reuse twine + clothespins) | 15 mins | Very High (real memories) |
| Tissue Pom-Poms | $8 per pack (3 pieces) | $3 (whole pack of tissue paper) | 7 mins each | Medium (color choice only) |
The Industry Secret: Decorate in Layers, Not Themes
Party planners won’t tell you this—but graduation decor fails when it’s “theme-heavy” instead of “layer-light.” You don’t need a full “cap and gown” motif. You need three visual layers: base (neutral backdrop), focal (personalized item like photos or the actual cap), and accent (texture/light/movement). That’s it.
Most DIYers overload on symbols—mini diplomas taped everywhere, fake scrolls, giant letters. It becomes visual noise. Instead, let one meaningful object shine. The real diploma. The actual school lanyard. A sibling’s handwritten note pinned to the wall. Those carry emotional weight store props never will.
And here’s the kicker: guests remember how a space *felt*—not whether you had matching napkins. Soft light, personal touches, and breathing room beat perfect coordination every time.
Frequently Asked Questions
What are the cheapest easy diy graduation decorations?
Use items you already own: string lights, books, blankets, and printed photos. Add texture with homemade tissue pom-poms or curled ribbon—total cost under $5.
How far in advance should I make DIY graduation decorations?
Assemble non-perishable elements 2–3 days ahead. Avoid anything delicate (like fresh flowers) until the morning of. This reduces stress and prevents damage.
Can I reuse these decorations for future events?
Absolutely. Neutral backdrops, string lights, and photo displays work for birthdays, anniversaries, or even holiday gatherings with minor tweaks.